
Why do I need to Bleed my Brakes?
Bleeding a brake is the process of removing old brake fluid from the master cylinder, the hose and the caliper. Bleeding is necessary whenever a brake system connection is loosened, after a component or a hose is replaced with a new one, when a master cylinder or a caliper is overhauled, or when there is a spongy feel to the lever or pedal and it travels all the way to its stop, and where braking force is less than it should be.
Brake bleeding is considered by some to be a bit of a black art – seasoned professionals sometimes have trouble getting a good firm feel in the brake lever, while a first timer may have no trouble at all. One of the problems, particularly with the front brake system, is that you are working against natural principles – science dictates that air bubbles in a liquid will rise to the top, but the process entails pumping the brake fluid and any air bubbles it contains down, from the master cylinder at the top to the bleed valve in the caliper at the bottom, so while the fluid is moving down the air bubbles will try to rise. Air bubbles can also get trapped, particularly where there are high points in its path, as with the front caliper hose.
To bleed the brakes using the conventional method, you will need some new DOT 4 brake fluid, a length of clear flexible hose, a small container partially filled with clean brake fluid, some rags, and a spanner to fit the brake caliper bleed valve.
Cover painted components to prevent damage in the event that brake fluid is spilled.


So how is it done?
- Remove the reservoir cover and diaphragm.
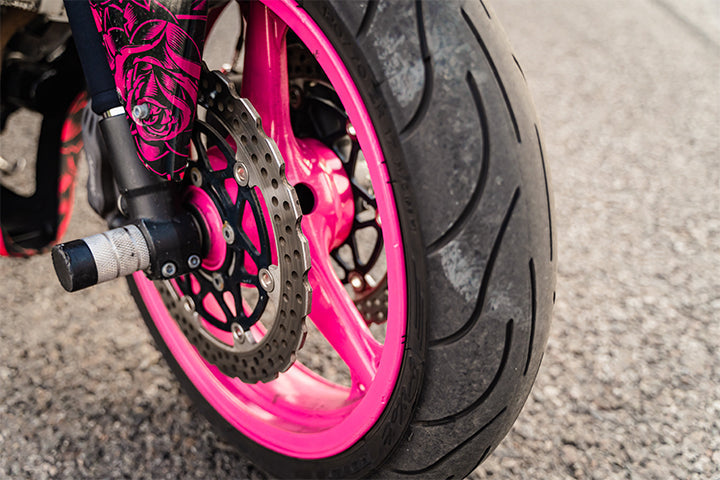
- If using a ring spanner, fit it onto the valve. Attach one end of the bleed hose to the bleed valve and submerge the other end in the clean brake fluid in the container.
- Check the fluid level in the reservoir – keep it topped up and do not allow the level to drop below the bottom of the window during the procedure
- Slowly pump the brake lever three or four times, then hold it in and open the bleed valve a quarter turn. When the valve is opened, brake fluid will flow out into the clear tubing, and the lever will move toward the handlebar. Tighten the bleed valve, then release the brake lever gradually.
- If there is air in the system there will be air bubbles visible in the brake fluid, but not necessarily on the first pump. Repeat the process until no air bubbles have been seen for a few pumps, and the lever is firm when applied, topping the reservoir up when necessary. On completion remove the equipment and make sure the bleed valve is tight
- When the system has been successfully bled there should be a good and progressively firm feel as the lever is applied, and the lever should not be able to travel all the way back to the handlebar.
Click here for more such interesting reads on Motorcycle Blogs